
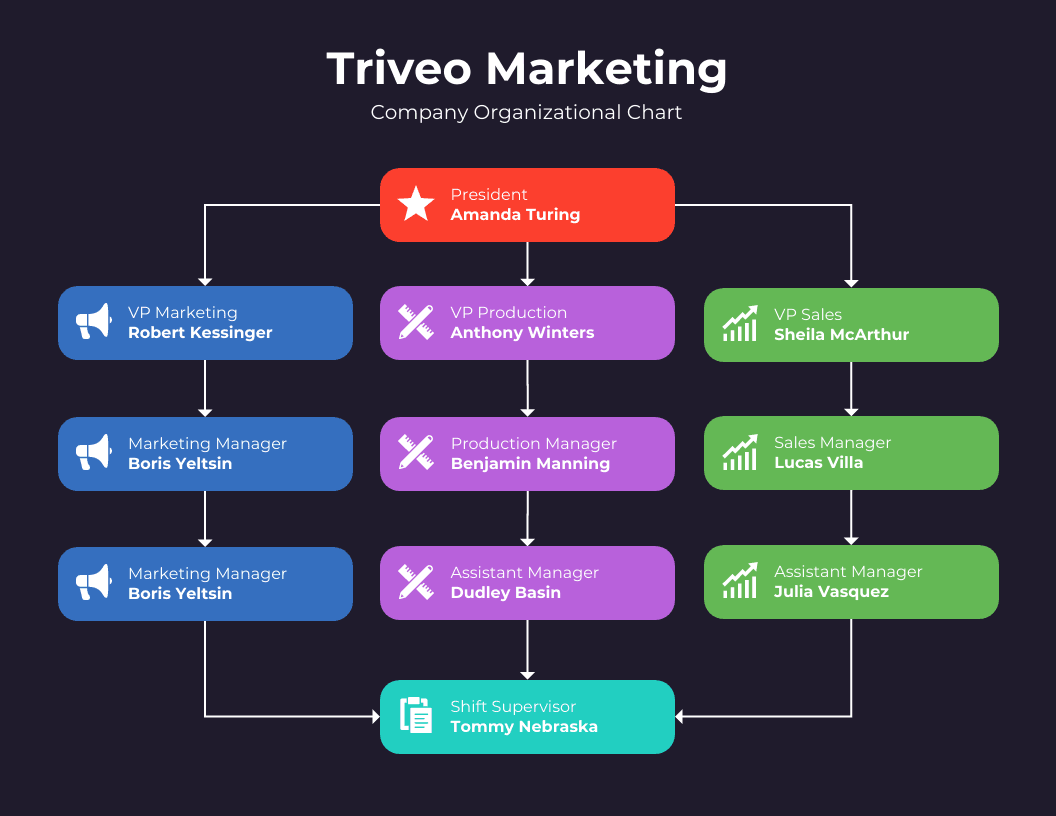
The organizational chart of a company shows the relationships between departmental titles, job descriptions, and reporting structures. It can depict staff shifts over time and record staff turnover rates. A company organizational chart is issued to show the relationship between employees or departments responsible for each other or towards managers. This type of document is also known as "org chart."

Rebrand Cities/Pexels
When creating an org chart for your business, here are 12 steps you can follow:
Step 1:
Gather all required information about your business first before proceeding with your business organizational chart design. You may need some people to help you gather these details, especially if it requires checking through receipts, records, and inventory sheets. The required information is the names of employees, their departments, and their titles.
Step 2:
Organize your data in a spreadsheet. This will be very helpful when you need to add more details on the desired portions. In addition, you can add special characters such as bullets or tabs for visual effects later on.
Step 3:
Think of a color scheme that you think would perfectly portray your company's culture and values. For example, red, white, and blue if your company is patriotic, while yellow and green focus more on environment-friendliness.

From Oberlo
Step 4:
Use this color scheme in designing your org chart template or flowchart so that people who would view the document might easily understand them at once, even without reading any specific part of the document itself. This is especially true for people who are new in the company.
Steph 5:
Arrange your data and assign different colors to them to easily be identified based on their departments and titles. Your colleagues might even give you suggestions on how to alter these templates if they think of something more creative than what you've thought of before. Do it as long as it is acceptable by management or those concerned with the organization chart, such as human resources (HR).
Template by Venngage
It would also be helpful to keep track of those who may ask for this document through a designated email box. This will help you pull out some details from them later on when you need to make any amendments or alterations to your organizational structure's chart, thus saving time and effort required for producing another one.
Step 6:
Show employees who are within the organization chart to each other through connections or lines so that viewers may determine who would report to whom based on hierarchy. Those outside of your company should not be included in this part. Instead, put their names on another sheet altogether on a functional organizational chart so that you won't get confused when making changes later on.
Step 7:
Label specific departments with room for more details, such as "I.T.," if your department is devoted to local area networks (LAN) and wide-area networks (WAN). You can also choose to put these labels right beside the corresponding department's title, depending on your preference. Of course, this depends on how the org chart would appear in the final draft. It could either be a tree detailing every connection between employees or a list of employees without any connections at all.
Step 8:
Assign specific shapes to each department so that people can remember them easily. You may use squares, triangles, circles, ovals or even stars for this part. Remember to choose shapes that are easy on the eyes and will not confuse viewers by just looking at them.
Step 9:
Arrange your data based on hierarchy. Put those with titles above others and place their names in larger fonts than those below them (consider varying font sizes). Put titles beside employees' names. Do not put anything else such as their designations or numbers since these might only complicate things further, especially if someone decides they need an organization chart tomorrow for some purposes like recruitment purposes.

Template by Venngage
Step 10:
Use lines to connect supervisors and their assistants so that viewers would know who reports to whom. Also, add arrows on the side of the line pointing downward if an assistant is under a supervisor. Do not add any arrow from a department head or director on his subordinates' lines since it is already known by default that they have more power than others. Suppose you wish to be creative with your organization chart. In that case, you can even use special characters such as a carat symbol (^) to indicate seniority or some other thing that will help convey what you want in a more accurate manner without overcomplicating things.
Step 11:
Put rectangles containing "Manager," "Director," and titles above these labels beside them, adding bullets like those used in a list. The number of bullets depends on the number of titles or positions in your company or organization. Label these boxes with specific names to make them more descriptive and easy to understand by those who need them for their work.
Step 12:
Put tear-off tabs at the bottom portion of each sheet so that viewers may easily take a copy if they want one without going through the hassle of printing out several copies from a computer printer or copier. Make sure that these tear-off tabs have enough space for people to write down additional information such as phone numbers, email addresses, and even website URLs if possible. Provide as many details as you can so that those who wish to use the organizational chart will definitely find it helpful for their work.
To make org chart creation more manageable, use a chart-maker instead, like Venngage. This eliminates the step wherein you worry or conceptualize over the design of your org chart since a template is ready for you to customize. We all know that org charts are not just names inside boxes, and additional visuals may be needed to make it more digestible. Visuals like infographics, vectors, or Venngage diagrams are easily added when using a chart-maker. Try it now!